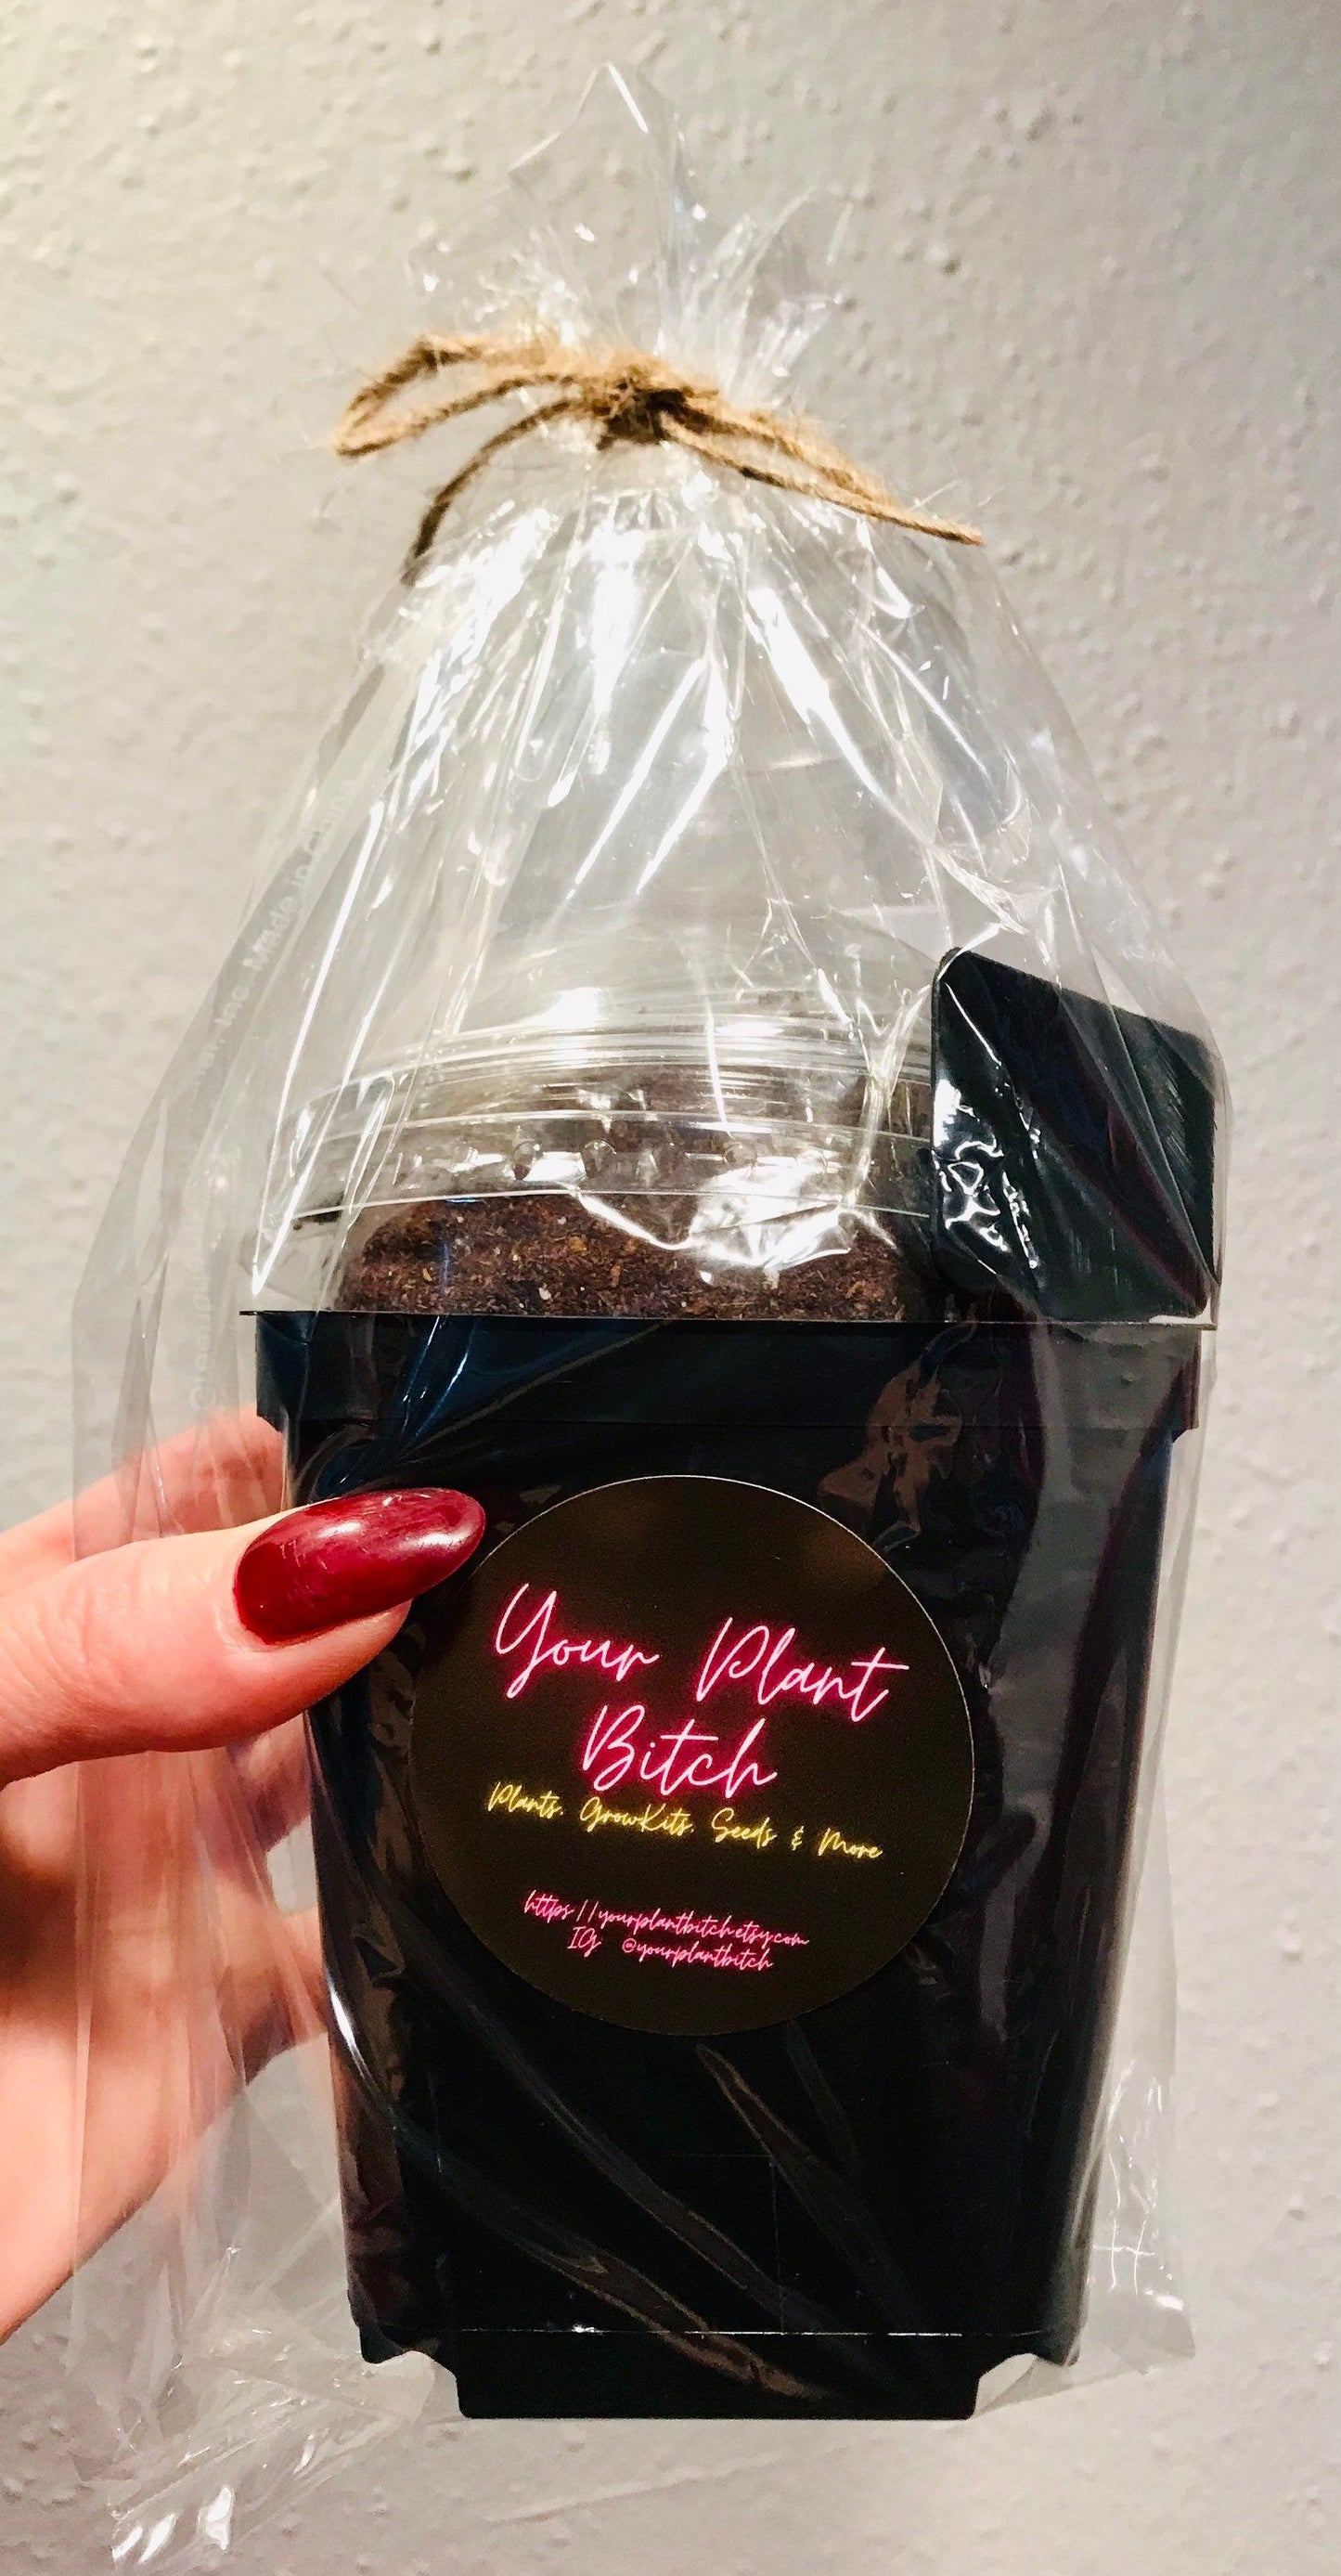


Your Plant Bitch
Variety Venus Flytrap Starter Grow Kits ~ The Seeds of Giants ~ Carnivorous Plants ~ Grow Your Very Own ~ Carnivore ~ Venus Flytrap Starter Grow Kits ~ The Seeds of Giants ~ Carnivorous Plants ~ Grow Your Very Own ~ Carnivore ~ Stocking Stuffers
Variety Venus Flytrap Starter Grow Kits ~ The Seeds of Giants ~ Carnivorous Plants ~ Grow Your Very Own ~ Carnivore ~ Venus Flytrap Starter Grow Kits ~ The Seeds of Giants ~ Carnivorous Plants ~ Grow Your Very Own ~ Carnivore ~ Stocking Stuffers
Couldn't load pickup availability
What fun will be had!!! Plant them, see them grow and then watch them capture bugs, right in front of your eyes!!! Everything you will need, to grow your very own Venus Flytraps!!!
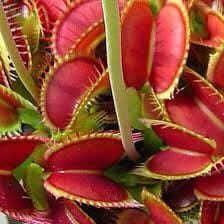
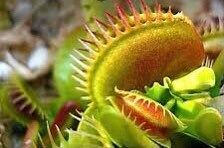
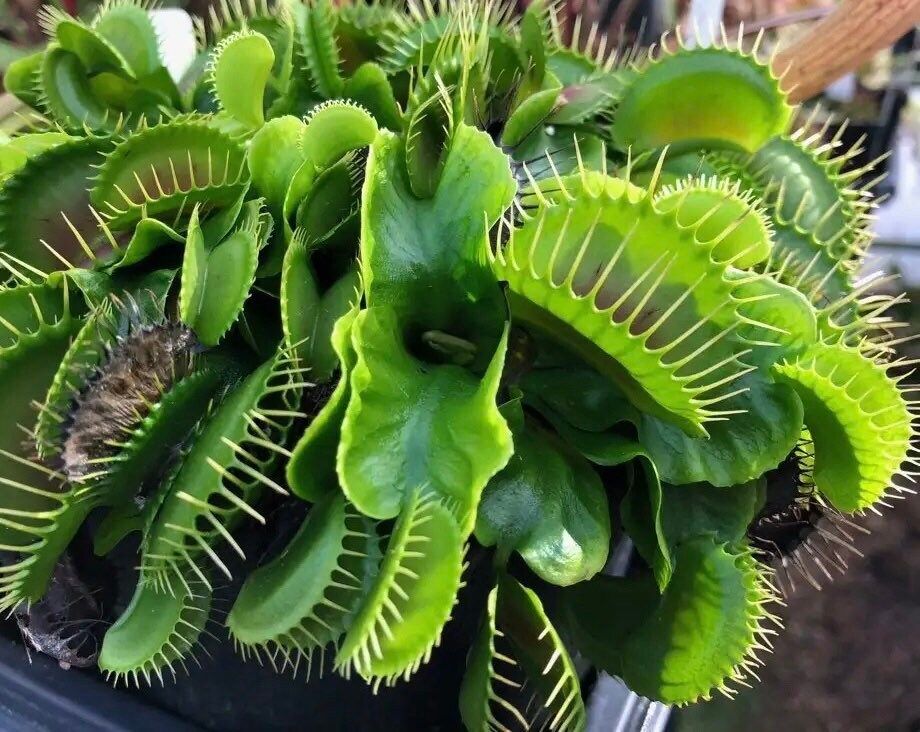
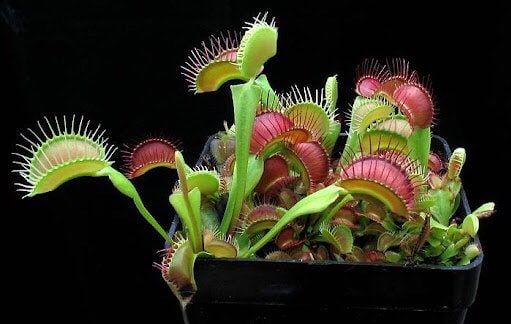
The Venus Flytrap is the most exciting looking and popular of the Carnivorous plants. From the way it catches it’s prey to it’s jaws like traps, you will just have to have one for yourself!
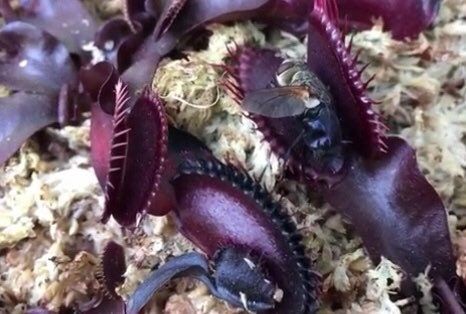
Venus Flytraps attract their prey using sweet nectar. Touch a trigger hair twice, or two hairs in quick succession, and an electric charge closes the trap, its interlocking teeth forming a cage. The insect’s continued struggles will cause the trap to seal, at which point digestive enzymes will dissolve the victim’s soft tissues. The trap reabsorbs this nutritious soup, and ~ after about a week ~ reopens, using the carcass to attract new visitors.
Great gifts for everyone! Science experiments, home-school projects and great for party favor gift bags too! Please message me for a bulk discount. Seeds should be stored in a cool dry place.
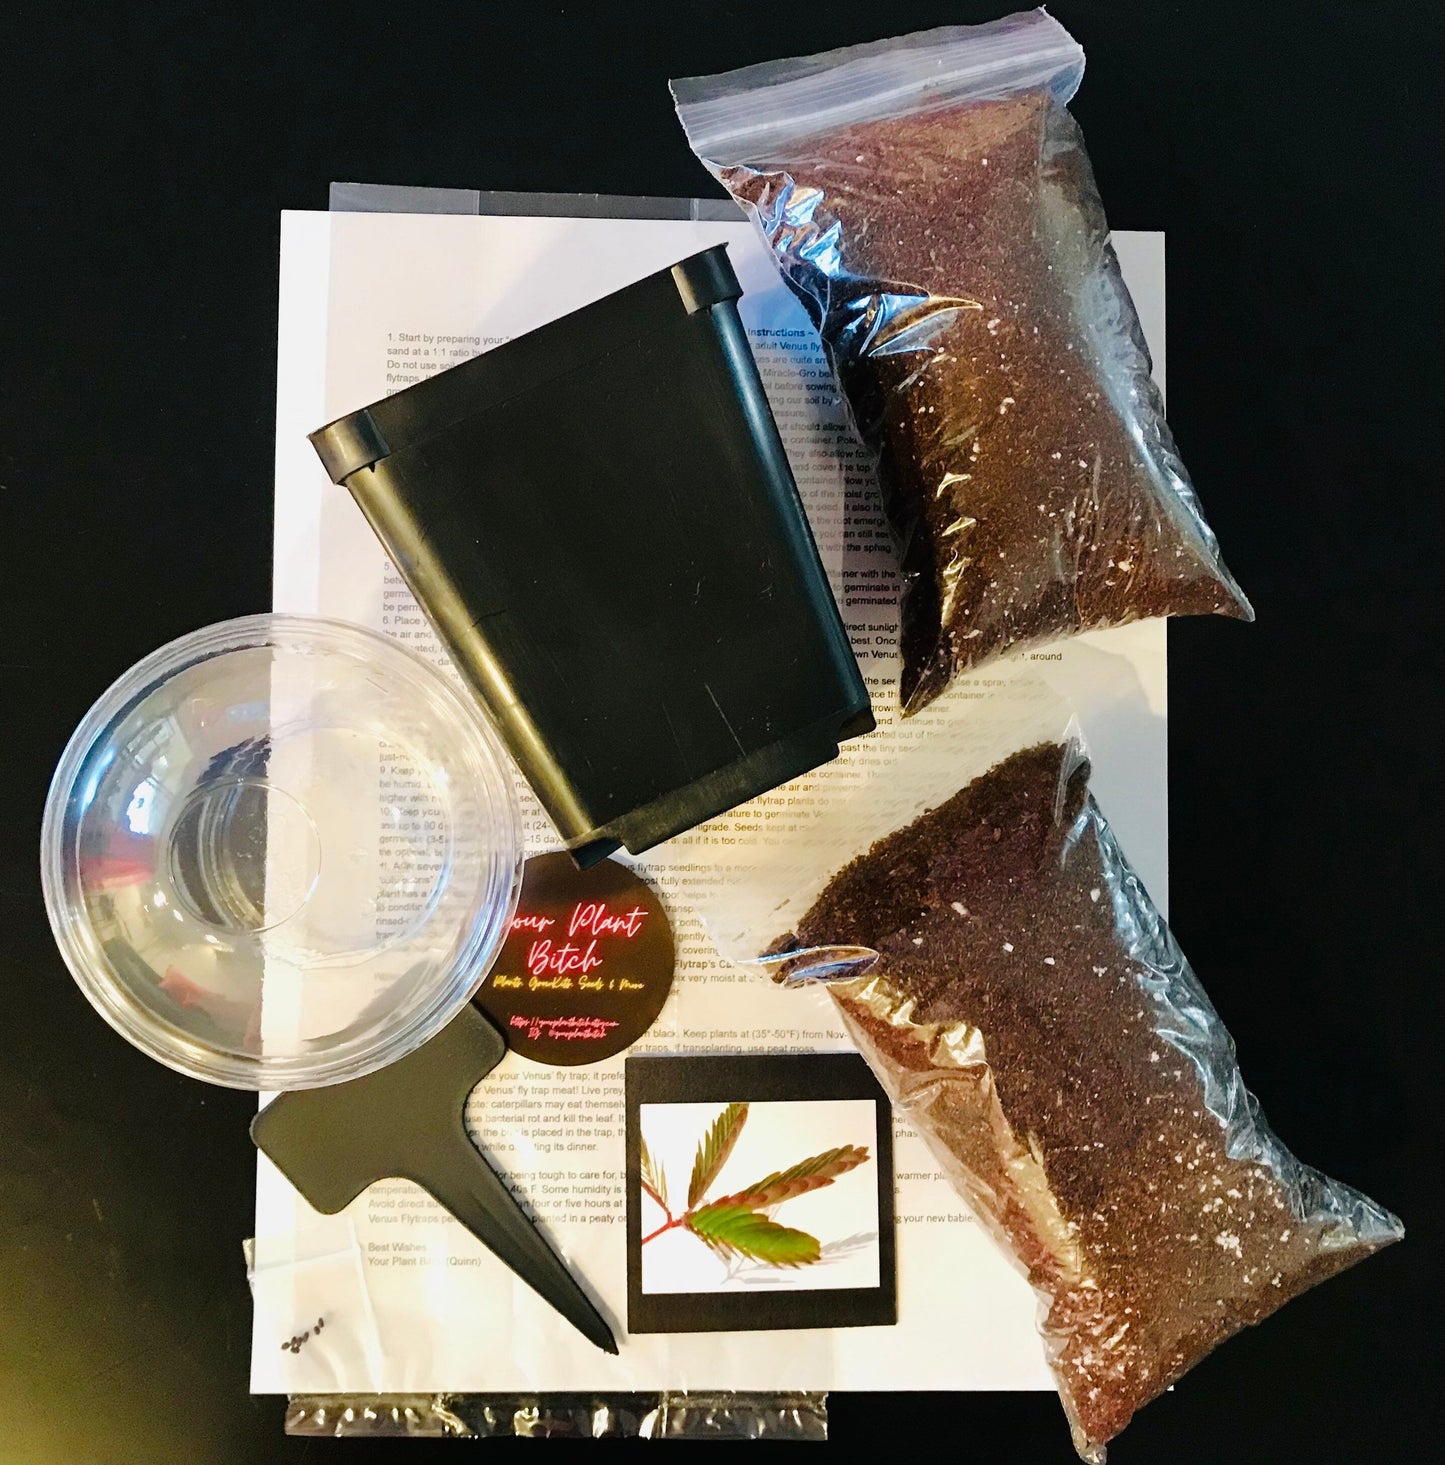
~ 🪰Variety of Venus Flytrap Plant Starter Grow Kit Includes🪰~
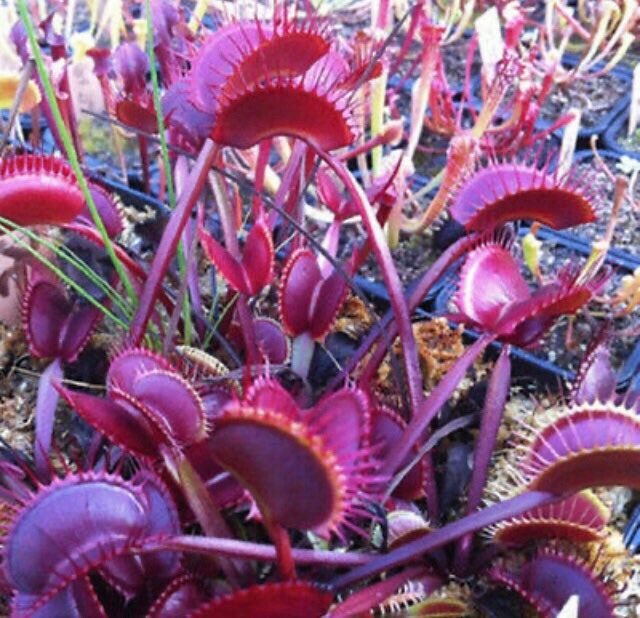
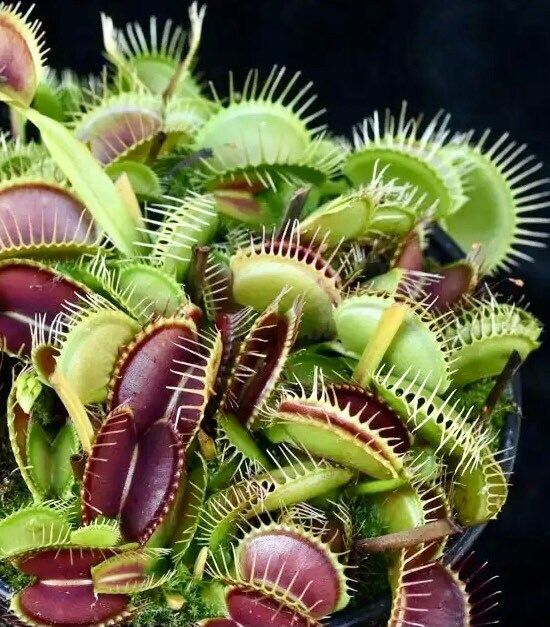
~ Five Seeds. A variety of Venus Flytrap Seed: Types of Venus Flytraps Included Big Vigorous, the Big Mouth (Orange Trap), Fang (Wally), Royal Red (Red Purple Traps), Dingley Giant (Dark Red Purple King), and the Low Giant (Ref Giant G5).
~ One (3.5 Inch) Black, Plastic Plant Nursery Pot.
~ One (9 ounce), Plastic Cup with a Dome Lid.
~ One, Blank Plant Label.
~ Your Plant Bitch’s Special Carnivorous Mixed Soil (4 Cups).
~ Grow and Care Instructions.
*Seeds alone are also available.
✨ Follow Me ✨
Instagram: YourPlantBitch
Facebook: Your Plant Biitch
Please visit me @YourPlantBitch come explore all of my collections!!! Where you’ll be the first to see all my new products, along with YourPlantBitch’s best sellers and exclusive collections. Rest assured, my main concern is for my customers ALWAYS!!! I try to provide the best customer service and strive to create ONLY a positive shopping experience for my customers. I am available to answer any questions or concerns you may have before or/and after your purchase. Custom orders are welcome!!! If you would like me to include a handwritten gift card I can with never any additional cost. If you’re interested placing a bulk order, purchasing any “sold~out” and/or more than the quantities listed as “available” items please reach out to me!!!
Thank you so very much for supporting my small business!!! 🪴Happy Planting🪴
🪰 Venus Flytrap Grow and Care Instructions 🪰
~ Grow Instructions ~
1. Start by preparing your “soil.” Use the same soil that is the growing medium for adult Venus flytraps. We recommend peat moss mixed with silica sand at a 1:1 ratio by volume. Perlite can be added as well but ensure that the pieces are quite small. Alternatively, long-fibered sphagnum works well. Do not use soil with other ingredients added, such fertilizer. No “potting soil” and no Miracle-Gro because they contain minerals that will kill Venus flytraps. It is highly recommended that, whatever soil you choose, you sterilize the soil before sowing the seeds. This will prevent mold and algae growth, at least until it is reintroduced to the soil. We use a pressure cooker for sterilizing our soil by placing a large bowl of soil (enough to fill whatever pot we will use) in the pressure cooker and running it for 30 minutes once it reaches pressure.
2. Next, prepare a growing container. This container keeps the seeds moist and warm but should allow for air circulation. If you purchased my VFT Starter Grow Kit use the cup with the dome lid. If not, a good choice is a Tupperware-type container. Poke holes in the top cover for airflow, and also the bottom portion for drainage. The holes in the lid provide ventilation for air circulation. They also allow for excess heat to escape from inside the container (see above photo). Another option is to use any regular pot or planting container and cover the top with a clear plastic bag.
3. Moisten the growing medium with Distilled Water and place the growing medium into the container. Now you are ready to plant the needs.
4. Do NOT bury the seeds. Do not plant seeds underground. Instead, scatter the seeds on top of the moist growing medium. Then sift a very fine dust of sphagnum peat moss over the seeds. The very light dusting helps to retain moisture near the seed. It also helps keep the emerging root from drying out and becoming calloused and stunted. It further gives the seed something to push against as the root emerges and seeks to dig itself into the soil. However, the seeds should only be very lightly covered. Only cover the seeds to the point where you can still see them through the dusting. Cover them too much and they may not germinate. If you can no longer see the seed after dusting them with the sphagnum peat moss, that’s too much of a dusting!
5. Spray Distilled water on the dusting of peat moss to moisten it and the seeds. Then cover the container with the vented lid. Germination can take between 10 days and 30 days, depending on conditions. If kept fairly warm, the seeds should begin to germinate in 13-15 days with most of the germination finishing in 20 days, but some stranglers take over a month. Once most of the seeds have germinated, within 4-6 weeks, the covering can be permanently removed.
6. Place your germination chamber somewhere with bright indirect light. Do not place the container in direct sunlight. This will cause it to overheat both the air and soil inside, which can damage or kill the seeds and germinating plants. Bright indirect light is best. Once most of the seeds have germinated, remove the container cover. Gradually give the seedlings more and more direct sunlight. Grown Venus flytraps require a lot of light, around 3-4 hours a day of good light as a minimum.
7. During the germination period of about 13-35 days, keep the growing medium moist and warm. To water the seeds, either a) use a spray bottle to gently wet the soil surface and continue to spray to saturate the medium until some water drains out, or b) place the growing container in a container holding Distilled water, and allow the soil to suck water upward through the drain holes in the bottom of your growing container.
8. Ensure that the soil surface is always moist. This allows the newly emerging root to have water to pull from and continue to grow. Use mineral-free water ONLY: Distilled water, reverse-osmosis water, or clean rainwater. Later, when the seedlings are transplanted out of their temporary germination chamber, lower the water content and allow the plants to have more air. Venus flytraps, once they are past the tiny seedling stage, grow very healthy in just-moist rather than soggy or saturated soil. Although, take care to ensure that the soil never completely dries out.
9. Keep your growing container humid. This is automatically accomplished by the covering of the container. Though the interior of the chamber should be humid. Lift the lid of the container at least once a day and fan the air. This freshens the air and prevents mold. Though the humidity needs to be higher with newly germinating seeds, your later developed and transplanted Venus flytrap plants do not require higher humidity.
10. Keep your growing container at a warm temperature. The optimal temperature to germinate Venus flytraps seeds is above 78 degrees Fahrenheit and up to 90 degrees Fahrenheit (24-32 or more degrees Celsius/Centigrade. Seeds kept at much lower temperatures than this will take longer to germinate (3-5 weeks versus 13-15 days) or may not germinate at all if it is too cold. You can germinate seeds in temperatures somewhat lower than the optimal, but they will take longer to germinate.
11. After several weeks of growth, transplant your Venus flytrap seedlings to a more permanent uncovered container. Do the transplant when the “cotyledons” (the two first leaves, the seed leaves) are almost fully extended out of the seed and the first tiny true trap leaf is forming. At this stage, the plant has a base and a tiny root that can be transplanted. The root helps to anchor the plant in its new growing medium. The root also helps it to adapt to conditions of lesser humidity and more light. An easy way to transplant is to use a moist wooden toothpick. Poke a tiny hole in the new and rinsed-of-minerals growing medium for the plant, gently lower the toothpick into the soil near the plant and lift it out of the soil with the root intact, transfer the plant to the tiny hole in its new growing container and gently orient it properly (leaves up, base and root down) then very gently settle it into the new hole with the toothpick a very light touch of a finger, lightly covering in any gaps with growing medium.
~Venus Flytrap’s Care Instructions~
Water: Please use distilled water only. Always keep the planting mix very moist at all times- best way is to have the pot in the middle of a clear glass vessel (like a tall vase) and sitting in a inch or two of distilled water.
Light: Place in bright indirect sunlight indoors.
Temperature: Performs well at an average indoor temperature.
Continuing Care: Remove old leaves and traps, as they turn black. Keep plants at (35°-50°F) from Nov-Feb when dormant. In spring, new leaves and flowers will appear. Remove the flower for stronger, larger traps. If transplanting, use peat moss.
Fertilizer:
You do not need to fertilize your Venus’ fly trap; it prefers a lean diet. The soil of its natural habitat is low in nutrients and fertilizers can slowly kill your plant. Do not feed your Venus’ fly trap meat! Live prey, such as flies, spiders, crickets, slugs and caterpillars, are a Venus’ fly trap’s favorite food. No ants, please. Just a note: caterpillars may eat themselves out of the trap. Do not give a trap any food that is bigger than about 1/3 the size of the trap; larger insects will cause bacterial rot and kill the leaf. It responds to the movement of an insect to avoid wasting energy on consuming non-food sources, like dirt. When the bug is placed in the trap, the bug’s movement will stimulate the trap into the digestion phase. The plant’s trap may stay closed for a week or so while digesting its dinner.
~Tips for Success~
Flytraps have a reputation for being tough to care for, but the trick is to try to match its native conditions. It prefers warmer places, though it can tolerate temperatures down to the low 40s F. Some humidity is also important, though less so than other carnivorous plants.
Avoid direct sunlight for more than four or five hours at a time, sticking instead to bright indirect light.
Venus Flytraps perform best when planted in a peaty or mossy medium that drains well.
Pruning
Prune in spring before vigorous growth begins. The stems with no leaves are called spurs and shouldn’t be removed. Flowers are produced on the same spurs year after year. Hoya are vining plants that will happily cascade from a shelf or window sill. Conversely, they are often trained onto trellises that are either vertical or circular, giving the impression of a more robust plant.
Fertilizer
Orchid liquid fertilizer is perfect for Hoya. The dosing cap eliminates measuring and gives exactly the right amount every time. Feed once a month from spring through fall.
💕 Please visit YourPlantBitch and explore all of my new and exclusive collections. Rest assured, my main concern is my customers always!!! I try to provide the best customer service and strive to create a positive shopping experience for my customers. I’m always available to answer any questions or concerns you may have before and after your purchase. Custom orders are welcome!!! I can even include a handwritten gift card for no additional cost. Feel free to send me an offer, I will always do my absolute best to work with my customer’s offers. Contact me with any questions or if you’re interested in my sold~out items or need different quantities.
✨ Follow Me ✨
Instagram: YourPlantBitch
Facebook: Your Plant Biitch
💕Happy reviews ALWAYS appreciated!!!
Thank you so very much for supporting my small business!!! 🪴Happy Planting🪴
💚 Best Wishes, Your Plant Bitch (Quinn)
Share